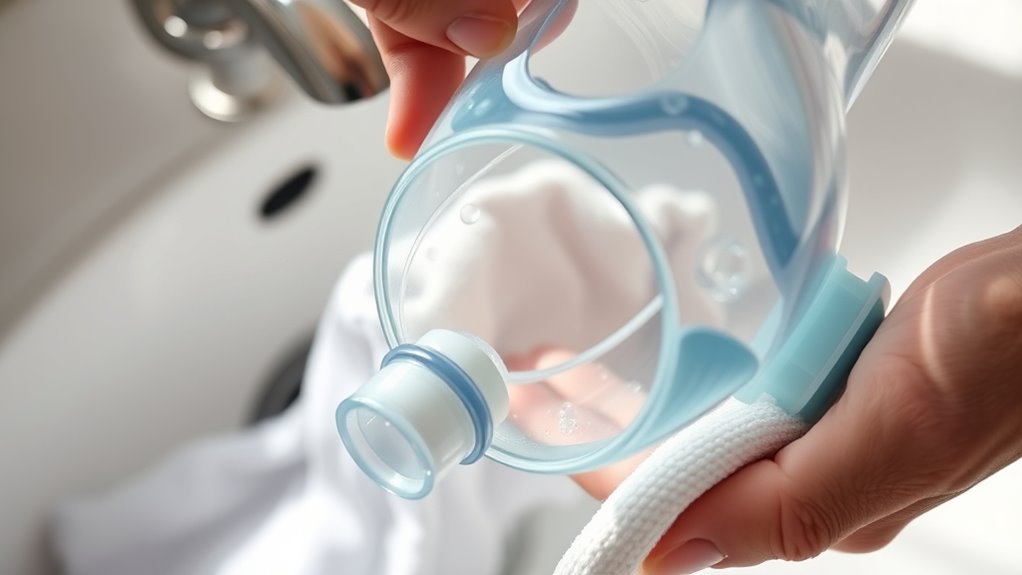

To clean your hydration bladder, rinse it thoroughly with warm water after every use, using mild soap or cleaning tablets, and scrub the interior and mouthpiece with a brush. Detach parts like the tube and bite valve to clean thoroughly, then rinse well. To dry, turn it inside out, wipe off excess moisture, and hang in a well-ventilated area until fully dry. Keeping a clean and dry bladder prevents mold and bacteria — learn more for best practices.
Key Takeaways
- Rinse the bladder thoroughly with warm water after each use, then clean with mild soap or cleaning tablets.
- Use brushes or long-handled sponges to scrub interior surfaces, including corners and mouthpiece.
- Detach and clean the bite valve and tube with a small brush or pipe cleaner to prevent bacteria buildup.
- Turn the bladder inside out and hang upside down in a well-ventilated area to air dry completely.
- Ensure all parts are fully dry before storing in a cool, dry place to prevent mold and odors.
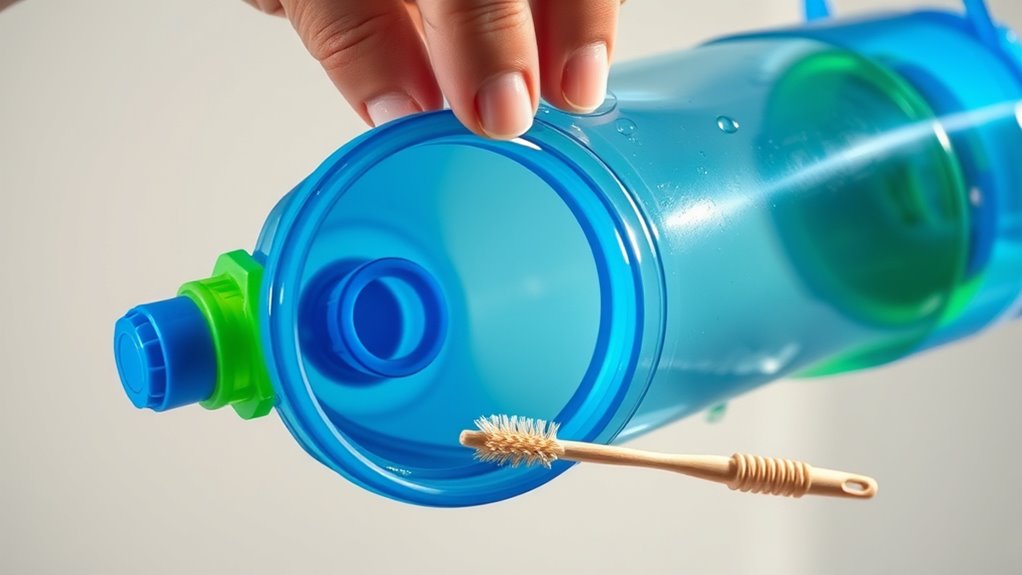
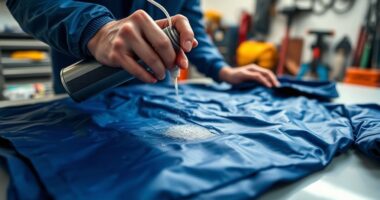
Keeping your hydration bladder clean and dry is essential to prevent bacteria growth and guarantee it stays in good condition. Proper cleaning techniques help eliminate germs, mold, and any lingering odors, ensuring your water stays fresh and safe to drink. After every use, rinse the bladder thoroughly with warm water. Fill it halfway with warm water and a few drops of mild dish soap or specialized cleaning tablets. Shake it vigorously to loosen any residue inside the bladder and the tube. Use a brush designed for hydration bladders or a long-handled sponge to scrub the interior, paying close attention to corners and the mouthpiece. Cleaning techniques like these help remove buildup and prevent mold from developing. Once you’ve scrubbed the interior, rinse it thoroughly with clean water until all soap or cleaning solution is gone. Don’t forget to flush out the bite valve and tube, as these areas are prime spots for bacteria accumulation. Additionally, regularly inspecting and replacing worn-out parts can help maintain the filtration effectiveness of your hydration system. When it comes to drying methods, you want to ensure your bladder is completely dry before storing it to prevent mold and bacteria growth. Turn the bladder inside out, if possible, to expose the interior fully. Use a clean towel to wipe down the inside and exterior, removing excess moisture. To speed up the drying process, hang the bladder upside down with the cap open in a well-ventilated area. You can also insert a paper towel or a clean cloth inside to absorb residual water. For the tube and bite valve, remove any detachable parts and let them air dry separately. Using a small brush or pipe cleaner can help clear out any leftover moisture or debris inside the tube. Some people prefer to use a fan or place the bladder in a warm, dry spot to facilitate faster drying. Avoid sealing the bladder while it’s still damp, as trapped moisture promotes mold growth. Instead, make sure it’s completely dry before folding or storing it away, keeping it in a cool, dry place.

4 Pcs Set Reservoirs Backpack Accessories Hydration Bladder Cleaning Kit with Flexible Long Brush for Hose, Small Bite Valve and Big Brush, Drying Collapsible Bladder Frame, Carrying Pouch (Blue)
5 in 1 Cleaning Kit: made of safe and quality materials, it cleans your hydrated bladder, water storage…
As an affiliate, we earn on qualifying purchases.
As an affiliate, we earn on qualifying purchases.
Frequently Asked Questions
How Often Should I Replace My Hydration Bladder?
You should replace your hydration bladder every 1 to 2 years, depending on usage and cleaning habits. Follow hydration tips like regularly cleaning your bladder and maintaining a consistent cleaning schedule to prevent bacteria buildup. If you notice mold, foul odors, or discoloration, it’s time to get a new one. Proper maintenance keeps your hydration system safe and effective, ensuring you stay healthy on your adventures.
Can I Use Bleach to Disinfect the Bladder?
You might wonder if bleach is safe for disinfection methods, and the answer is yes, but with caution. Bleach safety is essential, so use a diluted solution—about one teaspoon per liter of water—and rinse thoroughly afterward. While bleach can effectively disinfect your hydration bladder, frequent use isn’t recommended because it can degrade the material. Always follow manufacturer instructions and consider alternative cleaning methods for regular maintenance.
What Should I Do if the Bladder Develops Mold?
If mold develops in your bladder, you should perform mold removal immediately. Start by emptying the bladder and rinsing it with warm water and a mixture of water and white vinegar or baking soda. Use cleaning tips like brushing inside with a soft brush to scrub away mold. Rinse thoroughly and let your bladder dry completely in a well-ventilated area to prevent future mold growth.
Is It Safe to Put the Bladder in the Dishwasher?
You should avoid putting your hydration bladder in the dishwasher because dishwasher safety isn’t guaranteed, and high heat can damage the bladder. The intense water pressure and heat may warp or weaken the material, leading to leaks or mold buildup later. To keep it safe and in good shape, wash it by hand with warm water and gentle soap, then thoroughly dry it to prevent damage and mold growth.
How Do I Prevent Bad Odors From Forming?
Think of your hydration bladder as a garden; without proper care, it can turn into a foul-smelling weed patch. To prevent bad odors, prioritize odor prevention through regular cleaning techniques like rinsing thoroughly after each use and using a mixture of vinegar and water to eliminate bacteria. make certain it dries completely, and store it in a cool, dry place. This routine keeps your gear fresh and odor-free, ready for your next adventure.
4 Pcs Set Reservoirs Backpack Accessories Hydration Bladder Cleaning Kit with Flexible Long Brush for Hose, Small Bite Valve and Big Brush, Drying Collapsible Bladder Frame, Carrying Pouch (Blue)
5 in 1 Cleaning Kit: made of safe and quality materials, it cleans your hydrated bladder, water storage…
As an affiliate, we earn on qualifying purchases.
As an affiliate, we earn on qualifying purchases.
Conclusion
Now that you’ve given your hydration bladder a gentle refresh, imagine it as a clear mountain stream, sparkling and ready to carry fresh life with each sip. By keeping it clean and dry, you’re ensuring every adventure remains crisp and inviting. Think of it as tending to a delicate garden—your care nurtures its health and keeps it full of energy. With these simple steps, your hydration partner will stay vibrant and ready for many more journeys ahead.
4 Pcs Set Reservoirs Backpack Accessories Hydration Bladder Cleaning Kit with Flexible Long Brush for Hose, Small Bite Valve and Big Brush, Drying Collapsible Bladder Frame, Carrying Pouch (Blue)
5 in 1 Cleaning Kit: made of safe and quality materials, it cleans your hydrated bladder, water storage…
As an affiliate, we earn on qualifying purchases.
As an affiliate, we earn on qualifying purchases.

J.CARP High Flow Replacement Tube, with Tube Cleaner Brush, for Hydration Reservoirs
This kit includes two parts: 1 water tube and 1 flexible long cleaning brush
As an affiliate, we earn on qualifying purchases.
As an affiliate, we earn on qualifying purchases.