
To create DIY ice baths and contrast showers, start by filling a sturdy tub with cold water and adding enough ice to reach 50-59°F. Limit your immersion to 10-15 minutes, monitoring the water temperature with a thermometer. Always have someone nearby for safety, avoid submerging your head, and warm up gradually afterward. Following these guidelines helps maximize benefits safely—keep going for detailed steps and safety tips to get the most out of your recovery routine.
Key Takeaways
- Use a sturdy tub, fill with water at 50-59°F, and add ice; monitor temperature with a thermometer.
- Limit ice bath immersion to 10-15 minutes and never immerse head or neck.
- Always have someone present, and exit immediately if experiencing pain, numbness, or difficulty breathing.
- Gradually warm up with towels or clothing after sessions; avoid hot water or heaters immediately.
- Contrast showers involve alternating hot and cold water to promote recovery, following safety guidelines for duration and temperature.
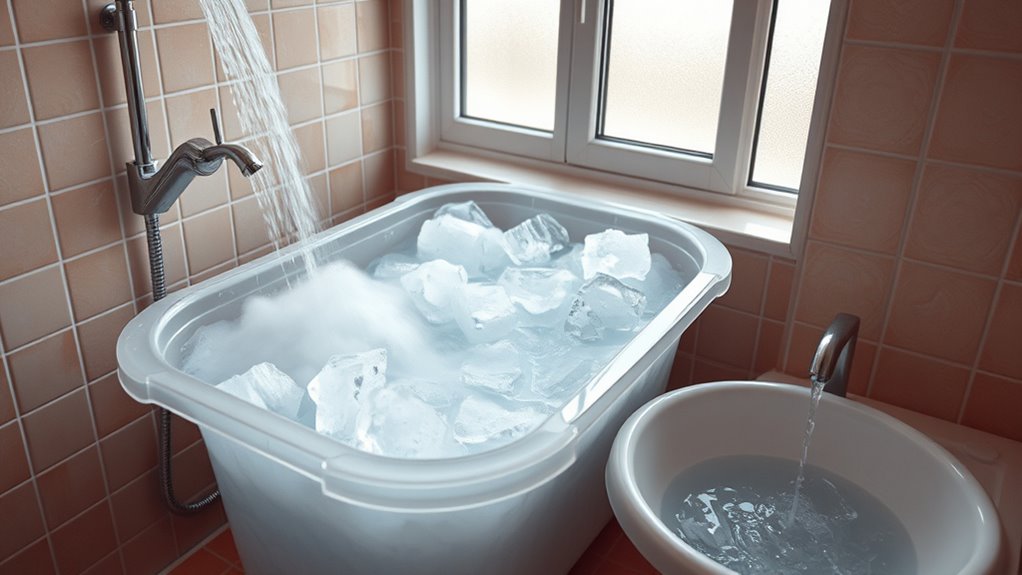
If you’re looking to boost recovery and reduce soreness, creating a DIY ice bath at home is a simple and cost-effective solution. Ice baths can help expedite muscle recovery, decrease inflammation, and alleviate discomfort after intense workouts. To maximize these recovery benefits safely, it’s vital to understand the proper way to set up your ice bath and follow safety precautions. First, choose a sturdy tub or container large enough to sit in comfortably. Fill it with cold water and add plenty of ice—enough to lower the water temperature to around 50-59°F (10-15°C). Keep the duration between 10 to 15 minutes to avoid overexposure. Staying within this timeframe is essential because prolonged cold exposure can lead to hypothermia or frostbite, especially if you’re not cautious.
While setting up your DIY ice bath is straightforward, safety precautions should always be your priority. Never immerse yourself alone, particularly if you start feeling numb, dizzy, or excessively uncomfortable. It’s wise to have someone nearby who can assist if needed. Before entering, check the water temperature with a reliable thermometer; don’t rely solely on guesswork. If you experience any chest pain, difficulty breathing, or severe numbness, exit immediately and seek medical attention. It’s equally important to avoid submerging your head or neck to prevent cold shock or respiratory distress. Wearing a hoodie or a towel over your shoulders can help maintain warmth outside the water.
Always have someone nearby and monitor your comfort and safety during an ice bath.
To enhance safety, limit the duration of your ice bath and listen to your body. If you start shivering uncontrollably or feel numbness spreading beyond your extremities, get out promptly. Always warm up gradually afterward—avoid jumping into hot water or using a heater right away—to prevent sudden blood pressure changes. Hydrate well both before and after your ice bath to counteract dehydration that cold exposure can cause. Remember, ice baths are not suitable for everyone, especially those with cardiovascular issues, circulatory problems, or certain medical conditions. If you have any doubts, consult your healthcare provider beforehand. Additionally, understanding the role of contrast showers can provide alternative recovery options that may suit different needs.
Incorporating these safety precautions ensures you reap the recovery benefits of your DIY ice bath without risking injury. When done correctly, ice baths can be a powerful tool for muscle repair, inflammation reduction, and improved athletic performance. Just keep safety at the forefront, and you’ll find this simple recovery method both effective and safe.
As an affiliate, we earn on qualifying purchases.
Frequently Asked Questions
How Long Should I Stay in an Ice Bath for Optimal Benefits?
You should stay in an ice bath for about 10 to 15 minutes for essential benefits. Stick to the duration guidelines to prevent hypothermia or skin damage. Temperature considerations are vital; aim for water between 50-59°F (10-15°C). If you start feeling numb, dizzy, or uncomfortable, exit immediately. Listening to your body guarantees you get the benefits while avoiding risks.
Can I Add Anything to the Ice Water for Better Recovery?
Imagine you’re a modern-day alchemist, and yes, you can add herbal infusions or use essential oils to your ice water for better recovery. These additions can help reduce inflammation and promote relaxation. Just make certain you use skin-safe, non-toxic oils, and avoid overpowering scents. Add a few drops of lavender or peppermint, and you’ll create a soothing, aromatic experience that enhances your recovery routine.
What Are the Safety Precautions for DIY Ice Baths?
You should take safety precautions with DIY ice baths to avoid hypothermia risks and skin irritation. Always limit your immersion time to 10-15 minutes and monitor your body temperature closely. Use clean water, and avoid adding any substances that could irritate your skin. Gradually acclimate your body to cold water, and never submerge if you feel numb, dizzy, or uncomfortable. If you experience any adverse effects, get out immediately.
How Often Should I Take Ice Baths or Contrast Showers?
Think of your recovery as tending a delicate garden: too often, and you risk burnout; too rarely, growth stalls. For ideal timing, follow the frequency guidelines of 2-3 times a week for ice baths and contrast showers. Listen to your body, and adjust based on how you feel. This balance helps you harness their benefits without overdoing it, nurturing your resilience and strength like a well-tended garden.
Are There Any Health Conditions That Contraindicate Cold Exposure?
If you have heart conditions or circulatory disorders, cold exposure may not be safe for you. It can cause blood vessel constriction, increasing strain on your heart and worsening symptoms. Always consult your healthcare provider before trying cold therapies. They can assess your specific health risks and advise whether cold exposure is appropriate. Don’t ignore underlying health issues, as they could lead to serious complications.
Conclusion
Just like Achilles dipped himself to gain strength, you can harness the power of DIY ice baths and contrast showers to boost recovery and resilience. Remember, every cold plunge is a step toward your own legendary endurance. Embrace the chill, stay consistent, and you’ll forge a resilient mind and body, ready to conquer life’s battles. As the ancients knew, sometimes you must brave the cold to emerge stronger—so plunge yourself in and embrace your inner hero.